How to use HarperDB with your typescript project?

I'm a software engineer with capabilities for doing application design and software development with several technologies and frameworks. I’m a friendly, organized, responsible person, always focused on achieving the best results, I have clear goals and a great determination to overcome any obstacle that may arise. Always excited about learning and working with newer technologies and methodologies that allow me to create better software solutions and grow professionally.
In the last few days, HarperDB is one of the most common topics that we want to read and hear about it, due to the HarperDB Hackathon that is happening right now. For that reason, during this post, we will take a look at how to use HarperDB in your typescript project in addition we will address some other topics as some HarperDB concepts, the node.js Harperive driver, and how to integrate with typescript, also will see the wrapper that I have designed to integrate Harperive in the backend server that I'm working on right now for the HarperDB Hackathon. Without much else to mention I hope you enjoy the content.
What is HarperDB?

HarperDB is a geo-distributed database that enables speed, performance, and low latency. With SQL on JSON, you no longer have to pick a database based on your data structure. HarperDB runs anywhere and ingests any type of data at scale. Accessed via an intuitive REST API, you can perform all CRUD database operations using one single endpoint.
As we can see in the above quote HarperDB is an easy database solution that helps collect and distribute. It provides speed, performance, and low latency, and provide several awesome features that we can use in our projects
Benefits of Using HarperDB
- Seamless integration into any project and tool using a straightforward REST API. It also comes with support for multiple languages via various drivers and plugins.
- HarperDB provides the ability to run your database anywhere, ranging from edge to cloud and anywhere in between.
- Support for executing complex, performant, ACID-compliant SQL queries on JSON with no data duplication.
- Functionality to search databases with JSON filters and SQL queries without the need of an ORM.
- You enjoy the flexibility of a NoSQL database with the security, consistency, and durability of an RDBMS by leveraging a dynamic schema with attribute level and role-based security in a single storage engine.
- HarperDB Studio offers a sleek and intuitive management UI that allows you to browse, query, and manage data all in one place, with no coding required.
How to integrate with Typescript?
The most important question that we have right now is what we will use to connect to the HarperDB database. Probably you know that one of the features that provide Typescript is the typings, for that reason in some cases is really complicated to use a library that hasn't typescript support.
For the case of typescript, there are a few options that we can use to connect. During the development related to my backend related to the HarperDB Hackathon, I'm using Harperive npm package that is a node.js driver for HarperDb.

It is written in JavaScript, it natively supports promises, and functions can be executed with callbacks. Each HarperDb operation is exposed as a function on the client object. All functions take query options and an optional callback function.
As you can see Is an awesome library that provides easy integration, and features to connect and handle the data management related to your project.
Harperive support some features as:
- Schema Operations (create, drop, describe)
- Table Operations (create, drop, describe, create an attribute, drop attribute)
- Query Operations
- SQL Query
- NoSQL Queries (insert, update, upsert, delete, search by value, search by hash)
- User Operations (add, alter, drop, list)
- Auth Operations (create authentication tokens, refresh operation token)
There are more feature supported by Haperive, In case that you wants to check some other features read the documentation
Let's do it

The first step that we need to do is install Harperive
npm install --save harperive
After that, you can start to use Harperive to connect to your HarperDB
Harperive Build Issue
There is an issue with Harperive that appears just when you try to create the build related to your typescript code when using Harperive as I mentioned in this GitHub issue created.

The issue happens because there are some typings not defined in the Harperive types, so that issue needs to fix to continue with the building project of our project. To fix that issue we can use the patch-package npm package that will allow us to patch the typing issue in Harperive.
First of all, we need to install patch-package as a dev dependency
npm install --save-dev patch-package
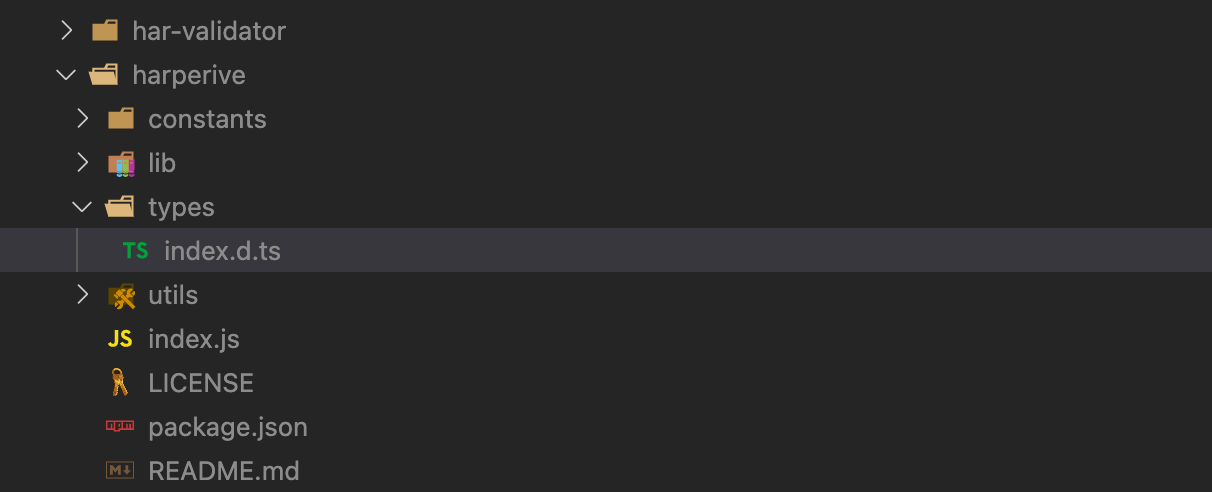
After that, we need to apply two changes to the library typings, to apply the change we need to find harperive in our node_modules folder, and after that open the types/index.d.ts file.
Note: The file path is <projectName>/node_modules/harperive/types/index.d.ts
The next step is to change all the tansactionLogsOptions references in the file to any type.
tansactionLogsOptions -> any
Also change millisecondTime references to any type.
millisecondTime -> any
After those changes will be applied we need to run the next command to create a patch related to that issue in our project.
npx patch-package harperive
The previous command will create a folder in our project root called patches with a new file harperive+2.0.1.patch.

The final step that we need to do is add a new npm script to our package.json file
{
  ...,
  "scripts": {
    "postinstall": "patch-package"
  },
  ...
}
With this npm script, the main idea is that the harperive will be patched after the dependencies were installed for that reason the script name postinstall. After that just need to execute a simple npm install and the library will be patched, with that change the next time that we generate the build will be a successful message waiting for you.
Note: This is a temporal fix the main idea will be to try to fix the issue directly in the harperive repository and release a new version for the package.
Harperive Wrapper
During the development related to my backend, I make some decisions related to the structure of my code trying to add a low coupling and easy integration with future libraries, for that reason I decided to create a wrapper to enclosure the logic related to Harperive.
Is a good practice that when you are working with a third-party library create a wrapper that adds a layer of abstraction on top of it and the wrapper is used in our project. That practice has a few advantages:
Our code base becomes more flexible to changes
If you ever need to replace the library with another one you only need to change your implementation in your wrapper in one place. You can change the implementation of the wrapper and don't have to change a thing about anything else, in other words, you have a loosely coupled system. Otherwise, you would have to go through your whole codebase and make modifications everywhere which is obviously not what you want.
You can define the API of the wrapper independently of the API of the library
Different libraries can have vastly different APIs and at the same time, none of them may be exactly what you need. What if some library needs a token to be passed along with every call? You can pass the token around in your app wherever you need to use the library or you can save it somewhere more centrally, but in any case, you need the token.
Your wrapper class makes this whole thing simple again because you can just keep the token inside your wrapper class, never exposing it to any component inside your app and completely abstract away the need for it. A huge advantage if you ever used a library that does not emphasize good API design.
Unit testing is simpler
Unit tests should only test one thing. If you want to unit test a class you have to mock its dependencies. This becomes even more important if that class makes network calls or accesses some other resource outside of your software. By wrapping the third-party library it is easy to mock those calls and return test data or whatever that unit test requires. If you don't have such a layer of abstraction it becomes much more difficult to do this and most of the time this results in a lot of ugly code.
You create a loosely coupled system
Changes to your wrapper do not affect other parts of your software at least as long as you don't change the behavior of your wrapper. By introducing a layer of abstraction like this wrapper you can simplify calls to the library and almost completely remove the dependency of your app on that library. Your software will just use the wrapper and it won't make a difference how the wrapper is implemented or how it does what it does.
Wrapper Code
harperive.ts
First of all, I have created a file to handle the HarperDB connection through Harperive in just one file.
import harperive from 'harperive';

const DB_CONFIG = {
  harperHost: process.env.DB_HOST,
  username: process.env.DB_USER,
  password: process.env.DB_PASS,
  schema: process.env.SCHEMA,
};

const { Client } = harperive;
// @ts-ignore - Problem with typing when is used env variables
const harperiveClient = new Client(DB_CONFIG);

export default harperiveClient;
ServiceError.ts
After that, I have created a ServiceError class that will be used as a general way to handle the errors in our project.
class ServiceError extends Error {
  token: string;

  constructor(options: any) {
    if (options instanceof Object) {
      const { token, ...properties } = options;

      super(options.token);
      this.token = token;

      Object.assign(this, properties);
    } else {
      super(options);
      this.token = options;
    }
  }
}

export default ServiceError;
factory.ts
After that, I have created a factory file that is used to handle all the logic related to the API for the Harperive driver. First of all, we have the next code that is used in a general way.
import harperiveClient from './harperive';
import ServiceError from './ServiceError';

interface FactoryOptions {
    schema?: string
}

const NO_SCHEMA_TOKEN = 'NO_SCHEMA_PROVIDED';
const HARPER_SCHEMA = process.env.SCHEMA;

const validateSchema = (schema: string | undefined) => {
  if (!schema) {
    throw new ServiceError({
      token: NO_SCHEMA_TOKEN,
    });
  }
};
executeRawQuery method
The main idea of this method is to be used to execute raw queries. as you can see if you put the word schema in your query is replaced by schema passed in options parameter or is used the default HarperDB schema that we set based on environment variables.
const prepareRawQuery = (
  query: string, options?:
  FactoryOptions,
): string => {
  const schema = options?.schema || HARPER_SCHEMA;

  if (!schema) {
    throw new ServiceError({
      token: NO_SCHEMA_TOKEN,
    });
  }

  const prepared = query
    .replace(/schema/g, schema);

  return prepared;
};

export const executeRawQuery = async (
  query: string,
  options?: FactoryOptions,
) => {
  const rawQuery = prepareRawQuery(query, options);
  const result = await harperiveClient.query(rawQuery);
  return result;
};
Example
const query = `
    SELECT q.* FROM schema.table1 AS t
    INNER JOIN schema.table1 AS q ON(q.table1Key=t.id)
  `;
const result = await executeRawQuery(query, options);
return result?.data;
insertRecord Method
The main idea with this method is to be used to insert in the different tables of our database. Returns the hash of the last record inserted.
export const insertRecord = async (
  tableName: string,
  record: Object,
  options?: FactoryOptions,
) => {
  const schema = options?.schema || HARPER_SCHEMA;

  validateSchema(schema);

  const inserted = await harperiveClient.insert({
    table: tableName,
    records: [
      record,
    ],
    schema,
  });

  return inserted?.data?.inserted_hashes?.[0];
};
updateRecord method
The main idea of this method is to be used to update the different tables of our database. Returns the hash of the last record updated.
export const updateRecord = async (
  tableName: string,
  record: Object,
  options?: FactoryOptions,
) => {
  const schema = options?.schema || HARPER_SCHEMA;

  validateSchema(schema);

  const updated = await harperiveClient.update({
    table: tableName,
    records: [
      record,
    ],
    schema,
  });

  return updated?.data?.update_hashes?.[0];
};
deleteRecord method
The main idea of this method is to be used to delete the different records of our database.
export const deleteRecord = async (
  tableName: string,
  recordId: string,
  options?: FactoryOptions,
) => {
  const schema = options?.schema || HARPER_SCHEMA;

  validateSchema(schema);

  const deleted = await harperiveClient.delete({
    schema,
    table: tableName,
    hashValues: [recordId],
  });

  return deleted;
};
searchByValue method
The main idea of this method is to be used to search based on the value of an attribute between the different records of our database.
interface SearchByValueOptions extends FactoryOptions {
  attributes?: string[]
}

export const searchByValue = async (
  tableName: string,
  criteria: {searchAttribute: string, searchValue: any},
  options?: SearchByValueOptions,
) => {
  const schema = options?.schema || HARPER_SCHEMA;

  validateSchema(schema);

  const { searchAttribute, searchValue } = criteria;

  const attributes = options?.attributes?.length
    ? options.attributes : ['*'];

  const result = await harperiveClient.searchByValue({
    table: tableName,
    schema,
    searchAttribute,
    searchValue,
    attributes,
  });

  return result?.data;
};
All the code will be shared by code sandbox during the next few days.
Conclusion
HarperDB is an awesome database that we can integrate into our projects. Provide some awesome features and there are some drivers as Harperive that we can use to integrate with the help of a wrapper as shared above in our project.
I hope you liked the post and tried to integrate HarperDB in your project and participate in HarperDB Hackathon. Keep an eye I will be written some other posts related to my Hackathon project.
I will be updating this post based on your comments and recommendations so let me know in any case that you have some suggestions that can be added or something like that. Thanks for all! 👍


